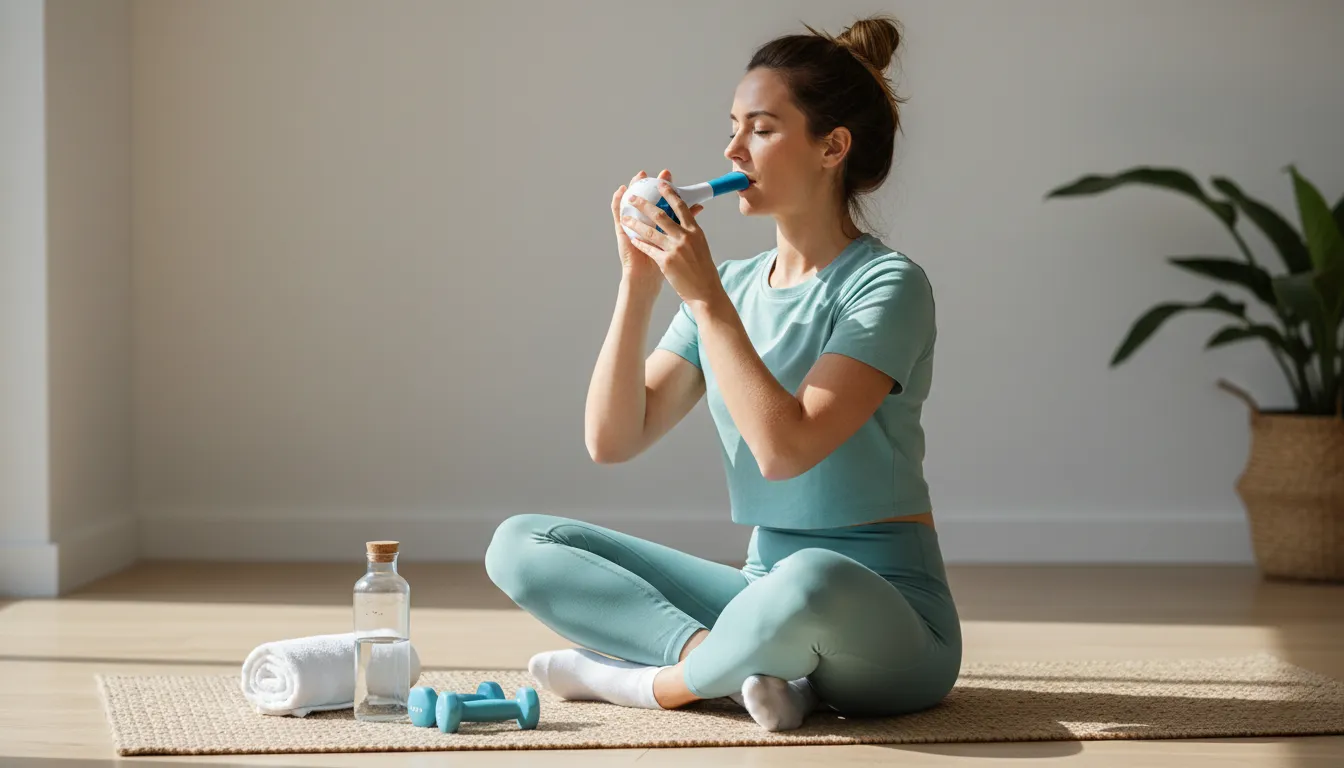
The Breather Training Series
60 Second Introduction
The Breather is a drug free evidence-based respiratory muscle training device used by patients and non-patients alike to improve respiratory, speech and swallow functions.
The Breather Respiratory Muscle Training (RMT) device combines both inspiratory and expiratory muscle training, and improves respiratory, speech and swallowing functions in patients. Furthermore, RMT in athletes and healthy individuals using The Breather led to improved respiratory functions, heart rate, peripheral muscle strength and exercise performance.
Through this series of short videos Carrie will walk you through respiratory maneuvers such as diaphragmatic or belly breathing, huff-cough, overcoming shortness of breath and ways to enhance delivery of bronchodilator medications. Carrie will demonstrate how to use and clean the breather in the following videos.
Meet the Inventor
In this video, Carrie will be your guide for The Breather, a respiratory muscle training (RMT) device that trains both inspiratory and expiratory muscles.
This series of Breather user guides are for respiratory, speech, occupational, and physical therapists, as well as patients who are diagnosed with the conditions including COPD, asthma, vent weaning, dysphagia, stroke, hypertension, Parkinson’s, chronic heart failure, and ICU acquired weakness.
Clinical benefits include higher exercise tolerance, reduced blood pressure, improved oxygen saturation, stronger peak cough flow, improved laryngeal function for speech and swallow, and improved cardiac autonomy.
Using and Cleaning the Breather
BREATHER – THE DEVICE
The primary mouthpiece was scientifically designed to help patients with poor mouth grip. You will use this mouthpiece to perform your daily training regimen. The Breather has one side numbered one through six labeled inhale. The other side is numbered one through five, labeled exhale. The dials adjust independently of each other. As you progress through training, your inhalation settings can be different from your exhalation settings.
BREATHER – USING THE PRE-SESSION CHECKLIST
Having a pre-session checklist is an optimal way to improve your success rate with using the breather. First, be mindful of how you’re feeling right before you start a session. Second, check your posture. Third, begin with the easiest inhalation and exhalation resistances by rotating both dials to number one. Fourth, it is very important that you use the diaphragmatic breathing technique. Fifth, secure the mouthpiece with your lips making sure not to bite down on the mouth piece. Sixth, if you can’t complete the prescribed number of reps and sets in a session, pace yourself.
USING THE BREATHER
A rapid inhale, slight pause, and quick forceful exhale is the optimal technique you want to master.
After exhaling slowly through pursed lips, secure the Breather in your hand and inhale deeply and forcefully for approximately two to three seconds. Notice your stomach and rib cage and the muscles in your neck as you breathe in against resistance. Be sure to relax your upper chest and shoulders. Pause slightly under a second.
Now, exhale forcefully for two to three seconds. Do not puff your cheeks. You want the exhaled resistance to be generated from your airways, not your cheeks. It is most important not to breathe through your nose.
HOW TO CLEAN THE BREATHER
We recommend cleaning it throughout the week and even daily. DO NOT put it in the dishwasher. Wash it by hand with water and a small amount of mild dishwashing soap. Rinse the Breather well. Shake off excess water and air dry. When fully dry, it can be stored away. We have advanced cleaning recommendations for medical professionals or immunocompromised patients. Contact us at ca**@*******al.com for more details.
Foundational Protocol
Over the years, we’ve found that this protocol serves as a solid foundation for you in your progress over the upcoming months and years. If you currently have a therapist, please share this course with them. They can personalize it as needed to fit the treatment plan they’ve designed for you.
Things to Remember:
A rep is a full breath in and out. For example, if you inhale and exhale, that’s one rep. A set is the number of reps done in a row. A session is the number of sets completed in each sitting.
We recommend that you train six days a week. You pick which six. Each day you’ll have two sessions – one in the morning and one at night.
Each session will consist of two sets and 10 reps per set. That equals 20 reps in the morning and 20 reps in the evening. So by the end of each day, you will have completed 40 total reps using The Breather.
Finding the right setting is all about trial and error. About once a week, try out increased resistance. You may find you’re ready to increase only the inhale setting or just the exhale setting at one time.
There may be times where you’ll have a break from using your Breather, such as during illness. When you are ready to resume training, you may find you need to decrease your resistance settings. Relax, this is normal. You will build your resistance and reps again just as you did before.
If at any moment you are unsure, remember there are downloadable materials, including the detailed clinical version of the Patient Protocol, your Training Checklist, and a Daily Journal. All of these materials and more are available on the sidebar to the right of the screen.
Advanced protocols are available for Therapist use. Contact in**@*************om.au for more details.
Breather Training Videos
- 60 Second Introduction
- Meet the Inventor
- Using and Cleaning the Breather
- How to Clean the Breather
- Foundational Protocol
Visit the Store
Browse Our Articles


